
Fantasy Environment - Cobblestone Texture

Glomzy 05 - a muted palette that is warm
This week, before figuring out exactly what I wanted to achieve; I dove straight into Substance Designer trying to get the paths and ground textures started. I knew that I wanted to use a specific palette (Glomzy 05) and that I wanted to recreate to the best of my ability the same type of cobblestone look.
Sadly, the original texture is lost to the digital ether, and I unfortunately only have two images to go off of (both affected by the lighting of the scene - Which had the textures looking pretty dark. As you can see below


A breakdown:

Image: Main Cobblestone Graph
My goal was to maximize its versatility, which led me to create a sort of “graph-ception.” (graphs, inside graphs, inside graphs) So the graph might look a bit messy at first glance (and that’s because it is), so let’s break it down piece by piece.
I want to say that I found some great tutorials on how to create stone textures and took what they made and edited it.
Siarhei Štanheeū’s Substance Designer Tutorial Volumes 1&2 were big helps
and seeing Muhammad Yusri’s Stylised Exploration: Stone Floor Tiles in action was mazzing inspiration
Unfortunately, I’ve lost the names of the other tutorials I’ve used, so apologies to those artists.

Showing how the texture changes when different outlines get added
Making “Bevel Round”
I use Flood Fill and then create a combination of greyscale gradients, one at 0, 90, 180 & 270 degrees. I combined them with the blend node by using the Min (darken) blending mode. and then sent the flood fill data and the “rounded” grayscale to separate outputs.

Image: Inside the Bevel Round Node
Using “Bevel Round”
To use it (1), I can connect a brick, voronoi (style: edge), or any black and white line pattern. Then grab the grayscale and used the “levels” (2) node to brighten everything up, this node will give me a bit more control. The Blur HQ is used to make it less pixelated (3).
The Flood Fill (FF) from “Bevel Round” connects to “FF to Gradient” which has an angle variation of 1 and I found that the smaller the item, the smaller in height they should be. So Multiply by Bounding Box Size was used to help that. These were then connected to a Blend node.
Blend Mode: Min (Darken)


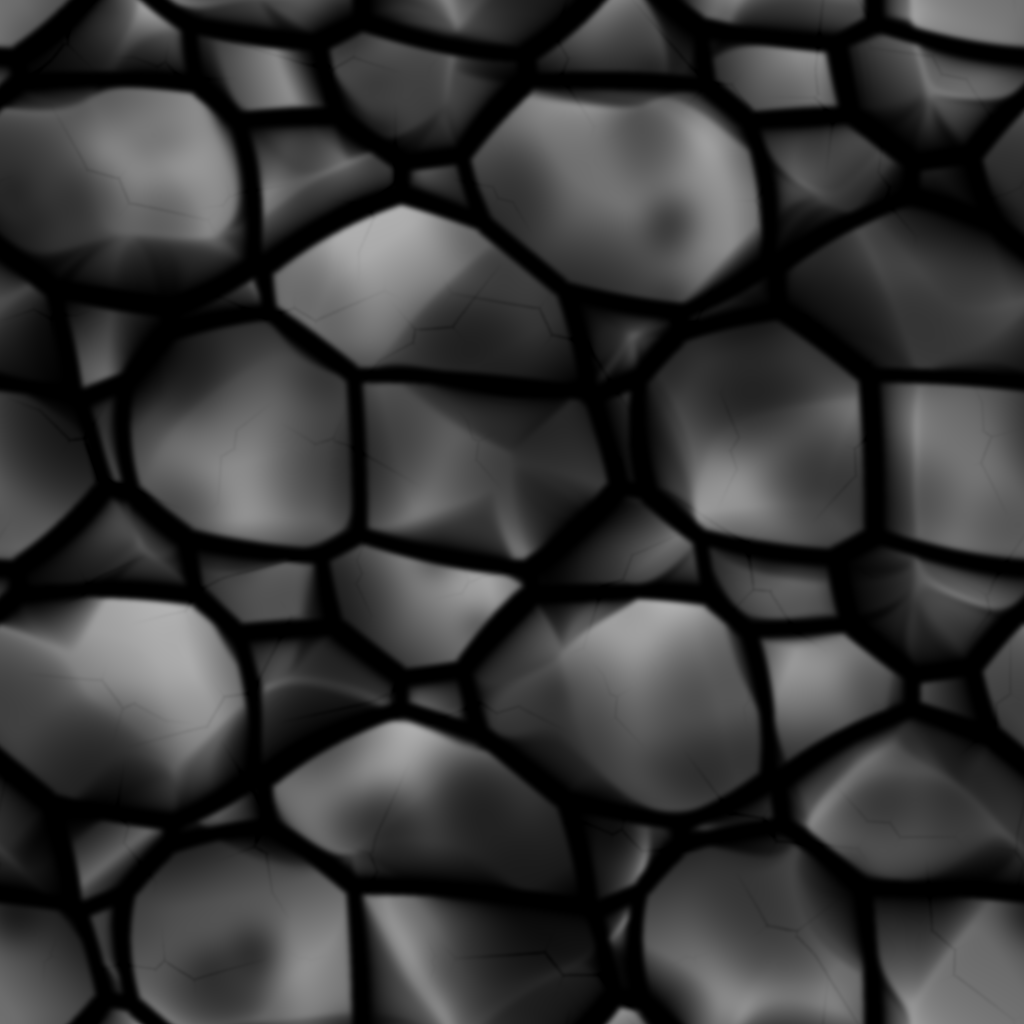
I now have a clean base with varying heights! Then I tiled it with the Tile Sampler (just because I prefer that node) at 2x2 amounts and started on the dents, dints, chip and cracks.

The Large Dents use a Perlin Noise connected to a Slope Blur Grayscale (I now use it all the time) and then blended using Min (Darken) and blurred slightly to remove any pixelation.
The Small Dents use the Tile Sampler to create a random noise, Instance Parameters: 13x13; Pattern: Paraboloid; Size, 1x1, Size Random 0.4 (x), 0.57 (y); Scale 5, Scale Random 1; Position Random 8.4; Color Blending mode Max, Color Random 0.49. Then Inverted the colours using the levels node, just to give me control on the sharpness of those dents. And another blur to make them less obvious.
The “Cracks” are another graph and I just tiled those randomly in position and rotation. Then made them very light in the blend node (blend mode: Subtract, Opacity: 0.1).
Making “Cracks”

This whole setup was taken from the Adobe Substance 3D Youtube channel but the key differences are making the size and disorder options in the “Crystal 1” node something that I could edit outside of the graph. And of course, applying an output.

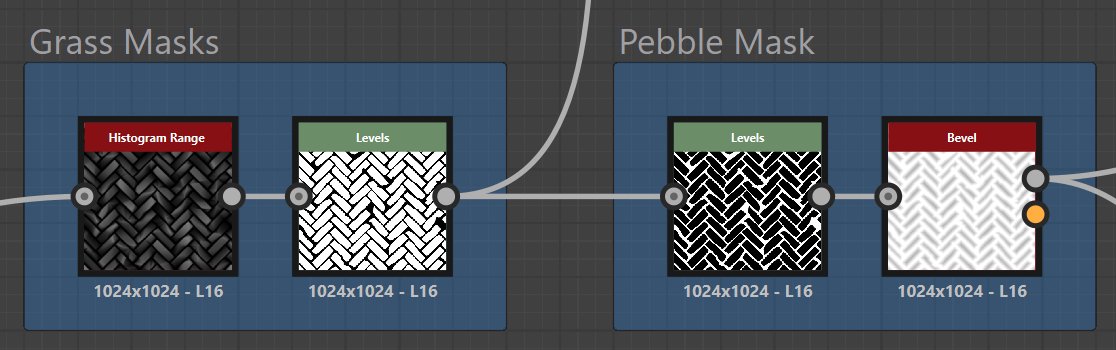
All of this combined creates a lovely tileable texture. I can then get the masks from these to create masks for grass tufts, pebbles and missing tiles!


I found myself spinning my wheels a bit by Tuesday afternoon and I pivoted to Unreal Engine and tried to set up the landscape, but couldn’t get the layout correct. So all Wednesday I went back to the storyboard and updated the concept art.
With all that said, I feel that I achieved what I was aiming for with this texture:
Keep within the bounds of UE 5.5
Keep the vague layout & theme, but upgrade it
Use the PBR pipeline but keep the stylised look.
Focus on Primary and Secondary details only
Try to make everything myself
Use procedural textures and models to speed things up.